More often than not Excel users are prone to entering typos and other misspellings into cells, making a mess out of a database or table. The best way to prevent such errors is to limit choices in a cell to restrict data entry to a set of desired values.
This article shows you how to help users work more efficiently by applying a drop down to each cell in a table, in order to help them make a choice rather than type into those cells.
Step-by-step tutorial on how to limit choices in a cell to restrict data entry in Excel
How to Limit Choices in a Cell To Restrict Data Entry in Excel:
1. Format the Cell as a Drop-down List
To start, select the cell you want to limit choices for.
Go to the Data tab and click on Data Validation. In the Allow box, choose List. This will let you create a drop-down list of choices for that cell.
In the Source box, enter the different choices you want to allow, separated by commas. For example, if you only want to allow “Yes” or “No” entries, you would type “Yes,No”. This creates a dropdown list with only those two options.
You can also choose to show an error alert if invalid data is entered. This prevents users from typing anything not on the list.
2. Use Cell References for Dynamic Lists
Instead of typing choices directly in the Source box, you can refer to cells on a different sheet to pull choices dynamically.
First, create a new sheet and type out the list of valid choices you want to use. For example, in cells A1 to A10 on Sheet2, list your dropdown options.
Then go back to the original sheet and set up data validation on the target cell. In the Allow box, select List.
In the Source box, reference the cells from the separate sheet using this format:
=’Sheet2′!A1:A10
Now the dropdown will be populated from the choices on Sheet2, even if you add or delete options from that list.
You can then hide the sheet with the choices by right clicking Sheet2 and choosing Hide. Users won’t see the backend sheet but can still select from the dropdown. This is the best way to offer your users a clean and easy to use interface.
The values will update automatically because it references the hidden cells. This provides a way to dynamically update dropdowns without exposing the source. You can securely reference valid options from a separate restricted sheet.
Example on how to limit choices in a cell to restrict data entry in Excel:
Let’s say we have a table and we want to input a different month for each row.

Step 1: Prepare a new sheet where you create a table containing all months of the year. That would be the “my data” sheet in this example.
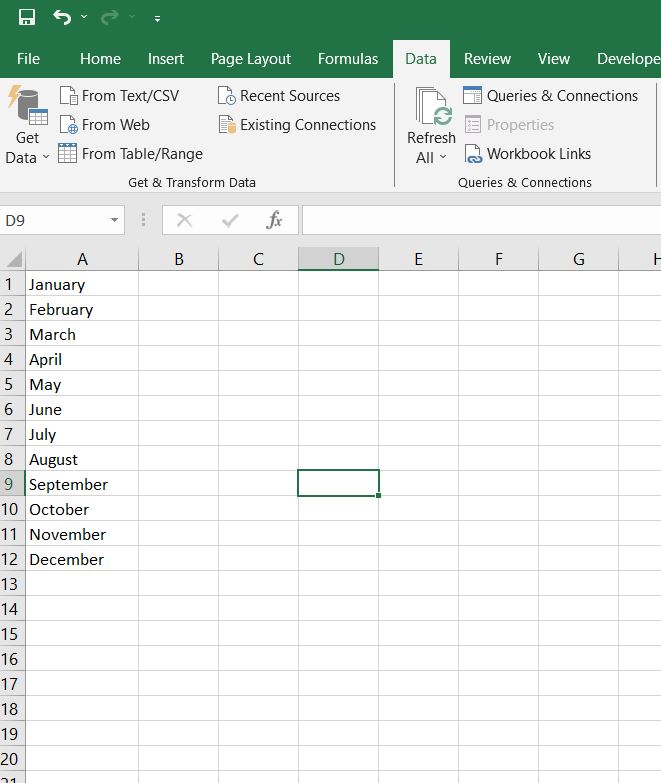
This is the new worksheet that contains only the list I need users to be able to select from
Step 2: Go back to your initial sheet and select a cell where you want the users to enter only certain values (month names)
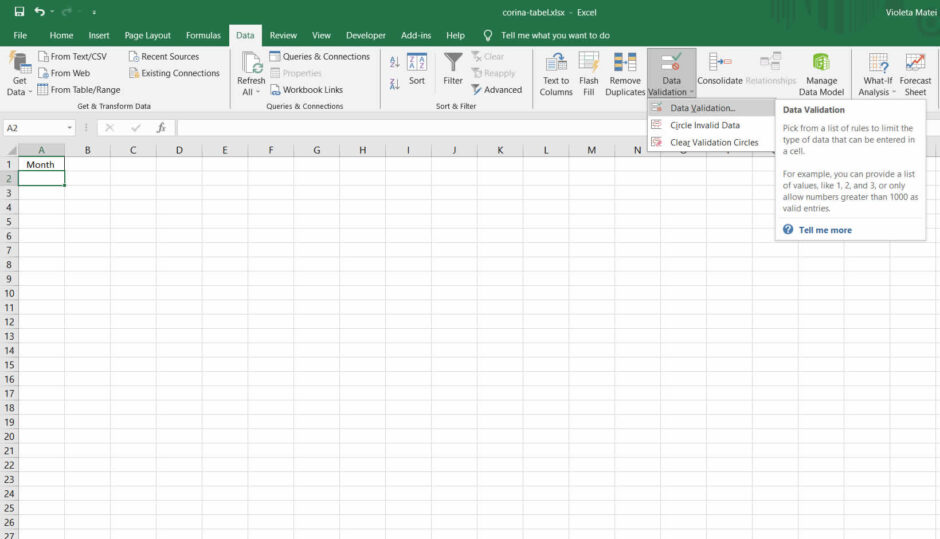
Step 3: Go to Data in the top menu. From the ribbon, choose Data Validation, then again Data validation from the dropdown menu that appears.
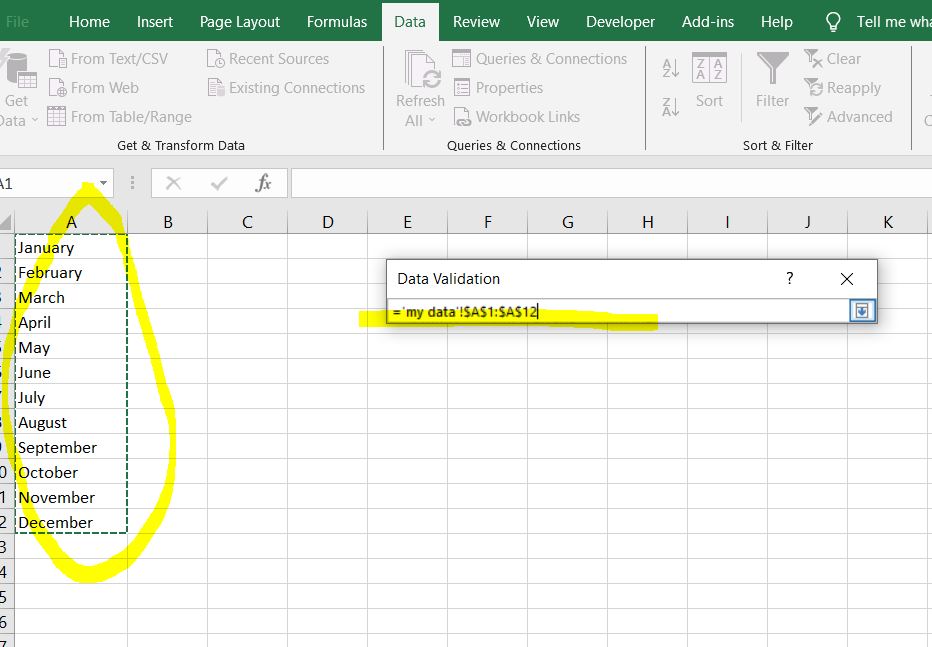
Step 4: Click on the arrow button by the “Source” box, then click on “my data” worksheet and select the cells that contain your desired inputs (the months of the year)
Step 5: Click OK
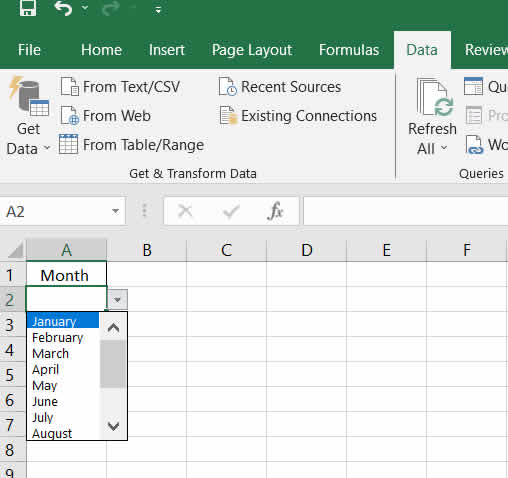
If needed, you can drag down the A2 cell as much as you need. All resulting cells will bear the same dropdown button and will show the same list to the user.
You’re done. Now you can hide the worksheet that contains your data, in order to avoid confusion.
3. Limit to Whole Number or Decimal Inputs
You can restrict data entry to whole numbers or decimals only. Go to Data Validation and in the Allow box choose Whole number or Decimal.
In the Data box, you can set additional limits, like allowing only whole numbers between 1 and 100. This prevents text or invalid entries.
4. Customize Input Messages
Excel allows customizing the input messages shown to users. You can create a title, input message, and error alert message.
To do this, go to Data Validation and fill out the Title, Input message, and Error alert tabs. For example, you can guide users to make valid selections from the dropdown.
5. Apply Restrictions to Multiple Cells
Once you have the validation set up for one cell, you can easily apply it to other cells. Just select all the cells you want to restrict and go to Data Validation.
In the Settings tab, click the Copy button. Then select the cells you want to apply it to and click Paste. The same input restrictions will apply to all of them.
This provides an efficient way to ensure consistent data entry in multiple cells. The cell references will adjust automatically.